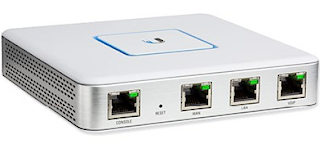
 This guide will show you how to move your controller from being locally based (on your PC), to an external (cloud/layer 3) controller.
Using the standard ‘set-inform’ method doesn’t seem to work if you have already adopted a Ubiquiti USG to a local controller. We're not sure why this is but this guide will help you get around it. This is all based off version 5.4.16
First go to your local controller and login.
For the USG to get internet access to start with, before we can even start migrating it over to our cloud controller, we’re going to need to adopt it and put in our WAN detail.
Click on the USG on the devices tab, and go to configuration. Enter in your WAN details in order for the USG to have access to the internet.
Do a software update if needed to ensure that your USG is running the latest version. Also ensure that the version of your local controller, is the same version as your cloud based controller.
On your local controller, Go to the settings option in the lower right. On the main Site page, scroll down to the bottom right and select export site.
A .unf file will automatically download. Next we need to go over to our Cloud based controller. For this example, we have ours hosted on Amazon Web Services, and we have a friendly DNS name that we've previously setup for this.
On the cloud controller, In the top right, next to your username, click on the current Site, and then go to ‘Import site’. Give it a friendly name and then find the .unf file that just got downloaded and select this file. You should now have your USG showing in your cloud controller, but in a ‘disconnected’ state.
After 15-20 seconds, this will change to provisioning and then to connected (not shown)
Once this has been completed, and your USG is now connected on your cloud controller, return to the local controller and complete the migration by removing the USG.


No comments:
Post a Comment